

One of the top WordPress plugins for Stripe payments is WP Simple Pay. It includes pre-made form designs, such as a donate button form, and an easy form builder for creating payment forms.
For non-profit organizations, WP Simple Pay’s free plugin version with its minimal capabilities is adequate. User-entered credit card amounts, which are fantastic for donations, custom form fields, and other capabilities are included in the Pro edition.
Although the free version’s procedure is identical, we’ll be utilizing WP Simple Pay Pro for demonstration purposes in this article.
Install and activate WP Simple Pay in step one.
Installing and activating the WP Simple Pay plugin on your WordPress website is the first step. You can refer to our detailed instructions on installing a WordPress plugin for guidance.
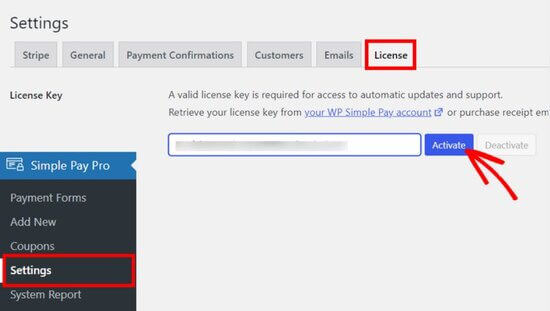
The next step is to enter your license key on the License tab of the WP Simple Pay » Settings page after the plugin has been activated. The WP Simple Pay website’s account area is where you may find the license key.
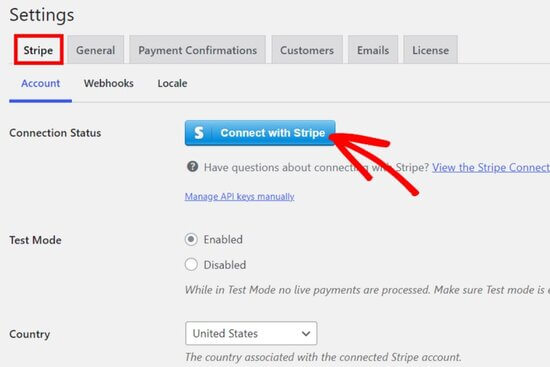
To take payments for donations online, you must next connect your Stripe account.
Select the Stripe tab from the Settings screen, then select the ‘Connect with Stripe’ button.
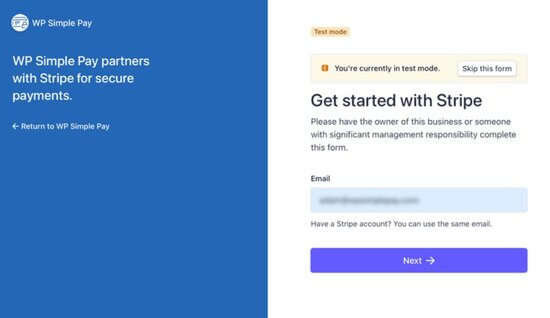
The Stripe website will soon appear, where you can access your account. You can open a new Stripe account if you don’t already have one.
You’ll be sent to the settings page on your admin dashboard after successfully linking your Stripe account.
To save your Stripe account connection, don’t forget to click the Save Changes button.
Create a New Donation Form in Step 2
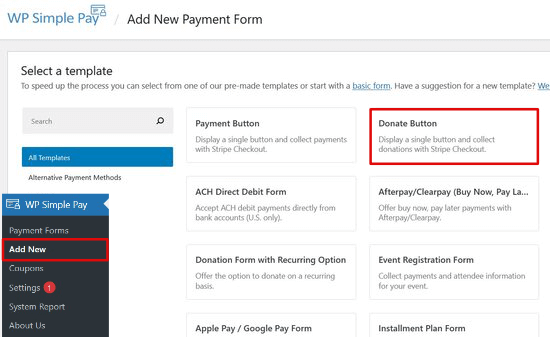
Go to the WP Simple Pay » Add New page to construct a donation form now that the plugin is active and your Stripe account is linked.
You can choose a form template from the list to get started. Click the “Use Template” button while your cursor is above the “Donate Button” template option.
You will then be sent to the form builder to modify your donation form.
You may choose the form type and input the form’s title and description on the General settings tab.
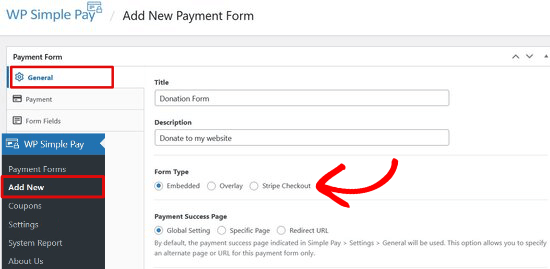
There are three different form kinds available:
- Keep users on your WordPress website while they complete the payment process by embedding a form.
- Display an overlay payment form that looks like a pop-up to keep customers on your website.
- Use an off-site payment flow that is optimized for conversions with Stripe Checkout.
In this tutorial, we’ll choose the Embedded form option so that a donation form may be added straight to any WordPress page or post.
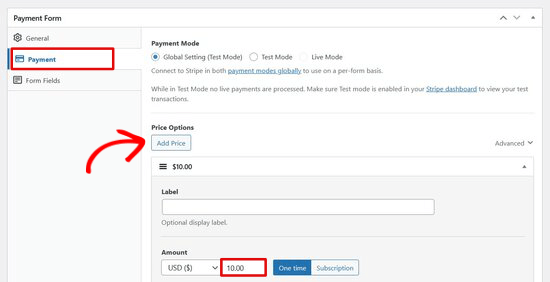
After that, select the Payments tab to include personalized donation options.
You may add several donation prices with WP Simple Pay so that contributors can select the amount they want to give. You may designate donation options for $1, $5, and $10, for instance.
Simply input the price by clicking the “Add Price” button. You can add as many donation options as you like by repeating this procedure.
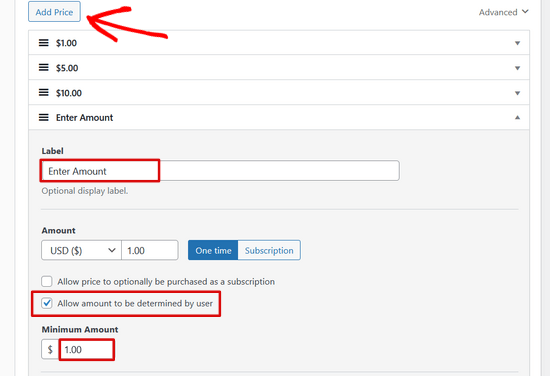
Additionally, you can allow people to donate any amount they like.
Check the “Allow amount to be decided by user” box after clicking the “Add Price” button. Then, alter the label to read “Enter Amount” and specify a low threshold.
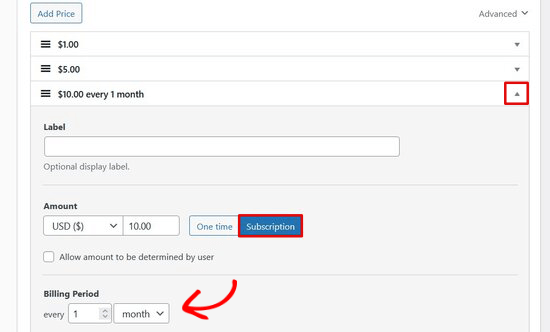
You may also select whether you want to accept one-time or subscription (recurring) donations by selecting the dropdown arrow next to each pricing option.
After that, select the Form Fields tab. Pricing options, a checkout button, and a payment button form fields are already included in the Donate Button template.
Simply select it from the dropdown menu and click the “Add Field” button to add more form fields like name and email address.
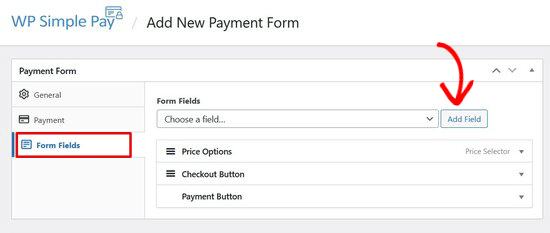
Drag and drop operations can be used to reorder the form fields.
3. Include the donation form on your website.
Your donation form should now be published and added to your website.
On the right side of the screen, first select the Publish button.
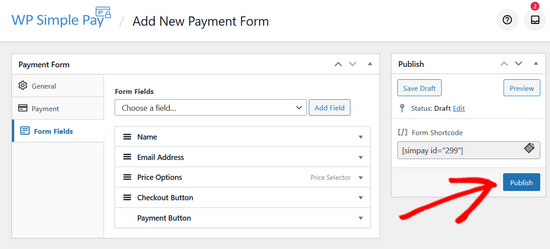
Then, copy the straightforward shortcode located above the Publish button. It appears as follows: [[simpay id=”299″]]
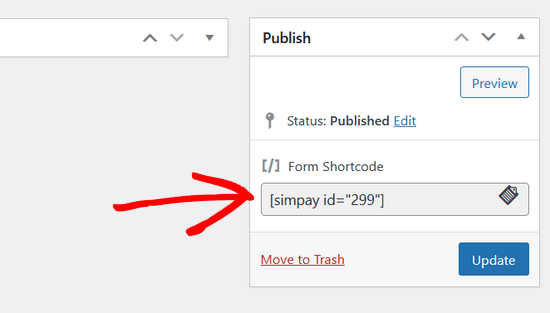
The shortcode can then be pasted into any WordPress page or post.
The shortcode widget will be installed immediately when you paste the shortcode into the WordPress editor. After that, publish the page or post.
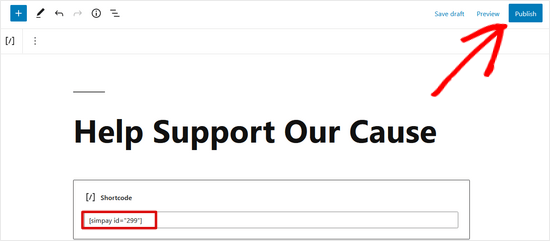
All done! Visit your website right away to check how the donation form appears on the front end.
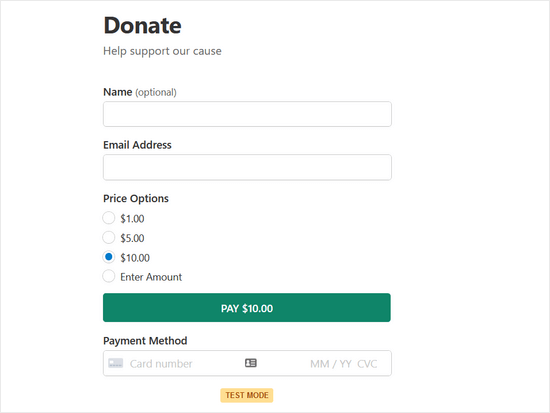
Note that WP Simple Pay’s default setting is test mode. This will guarantee that no actual transactions are carried out on your website before the form is complete. Learn how to switch your payment form from test mode to live mode by reading this article.
We sincerely hope that this post has shown you how to make a WordPress contribution form for a nonprofit.