

Do you want your nonprofit’s website to be able to collect donations?
Nonprofits can easily design a contribution form and take money from their website using WordPress.
In this article, we’ll show you how to use WordPress to construct a donation form for nonprofits.

Why Make a WordPress Donation Form?
Adding a Paypal give button to your website is the simplest approach to request funds, but it isn’t the best answer for everyone.
Instead of utilizing a contribution button, you may use a custom donation form on your website to:
- Customize the form fields to collect the data you require.
- For a more professional experience, keep donations on your own website.
- In the same form, ask donors whether they want to sign up for your email newsletter.
- Other payment processors, such as credit cards, can be used instead of Paypal (Stripe)
- Connect to third-party applications, such as a CRM or cloud storage.
As you can see, keeping donations on your own website rather than diverting them to Paypal has a lot of advantages.
Setting up a donation form on your website may appear to be a difficult task, but there are WordPress plugins for non-profits that make it simple.
Using WordPress to Make a Custom Donation Form
WPForms must be installed and activated first.
The first step is to install the WPForms plugin on your WordPress site. Follow our step-by-step instruction on how to install a WordPress plugin for more information.
After activating the plugin, go to WPForms » Settings and enter your license key. This information can be found in your WPForms account area.
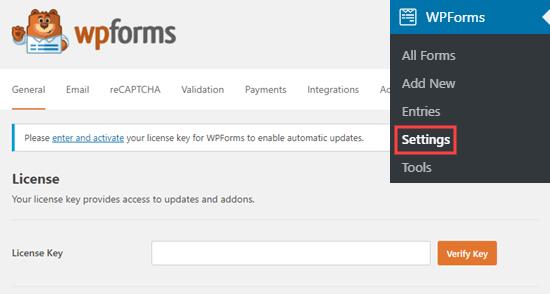
WPForms simply interacts with a variety of payment services, like PayPal, Stripe, and Authorize.Net, to collect donations.
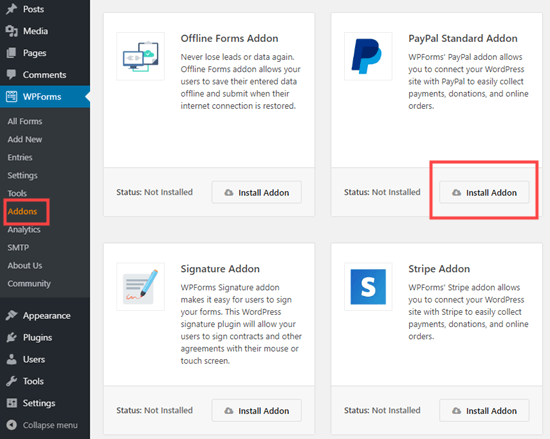
The payment addons of your choice must then be activated in WPForms by going to WPForms » Addons and selecting the ‘Install Addon’ button.
Step 2: Design a Donation Form
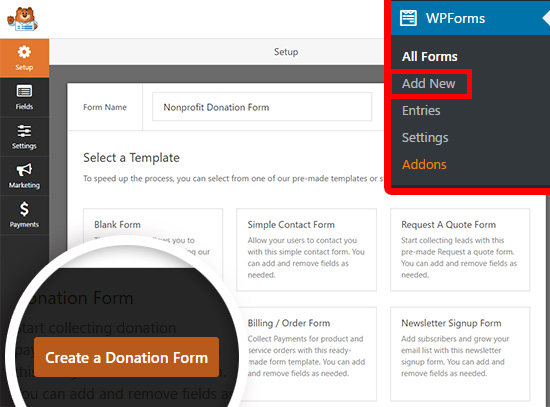
After you’ve installed and enabled WPForms, go ahead and click WPForms » Add New to get started.
You’ll now be presented with a list of pre-built form templates from which to choose. Give your form a name and click the ‘Create a Donation Form’ button when hovering over the Donation Form template.
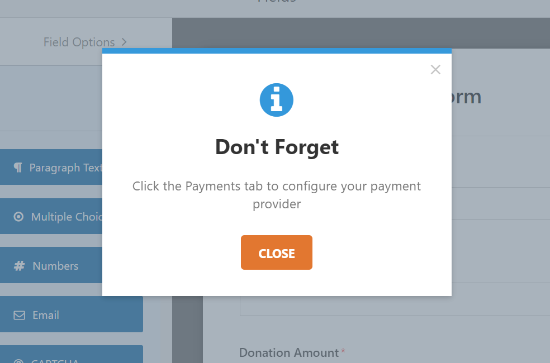
‘Don’t Forget: Click the Payments tab to configure your payment provider,’ states a popup reminder. Close the window by clicking the ‘Close’ button.
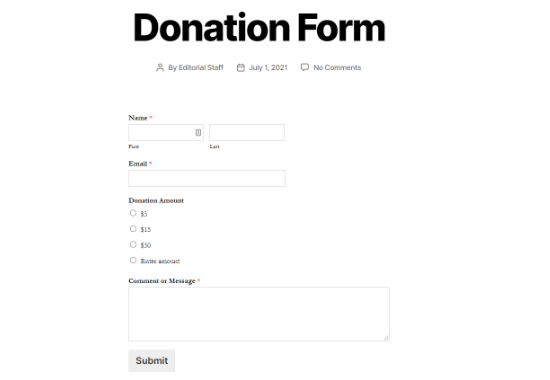
The following fields are included in the donation form template:
- Name
- Amount of Donation
- Message or Remark
Users can enter in any amount they want to donate in the Donation Amount box, which is a Single Item field. Instead, you can use multiple choice or dropdown fields.
We’ll teach you how to create a multiple-choice payment field with many donation amounts to pick from and the opportunity to enter a custom amount in this article.
Click the ‘Multiple Items’ button under Payment Fields to add the multiple-choice payment field. You can reorder the fields so that the Multiple Items field is right above the Donation Amount field by dragging and dropping the fields.
Then, in the form builder, select the Multiple Items field to adjust the options.
Change the label to ‘Donation Amount’ and save it. Then you have the opportunity to enter any quantity you wish, as well as a ‘Enter amount’ option.

You can now limit the visibility of the Single Item field to only when the ‘Enter Amount’ option is chosen.
To do so, simply update the options in the Single Item field.
If the ‘Required’ checkbox is selected, users will be unable to submit the form if they chose a donation amount in the multiple-choice field above.

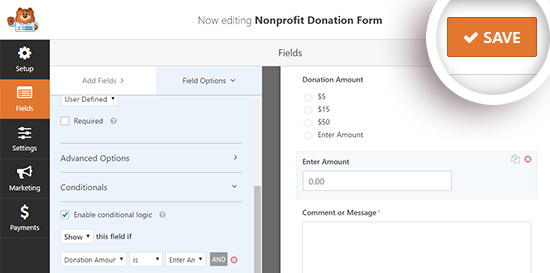
After that, choose the Enter Donation Amount field and go down to the ‘Conditionals’ tab to configure the field’s display settings.
Then, make sure the ‘Enable conditional logic’ checkbox is selected. If ‘Donation Amount’ is ‘Enter amount,’ then pick the option to Show this field.
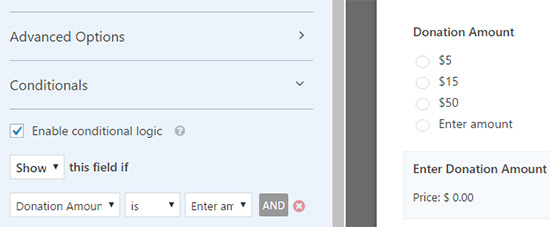
To save your changes, click the Save button in the top right corner.
Step 3: Integrate your payment system
Then, for your donations, you’ll need to set up a payment processor.
We’ll walk you through setting up a PayPal integration in this tutorial.
It’s quite similar to setting up credit card payments with Stripe. Check out this lesson on how to use the WPForms Stripe extension for more information.
From here, select the Payments tab on the left, and then the ‘Paypal Standard’ option.
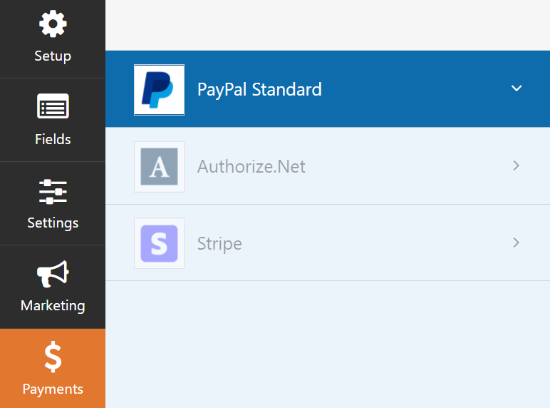
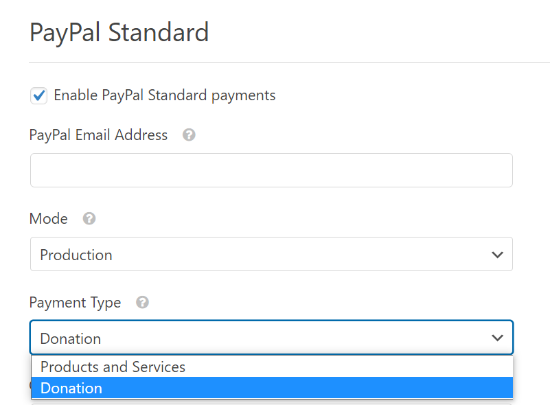
On the right side of the screen, you may now enter your settings. To begin, select the box labeled “Enable PayPal Standard Payments” and enter your PayPal email address.
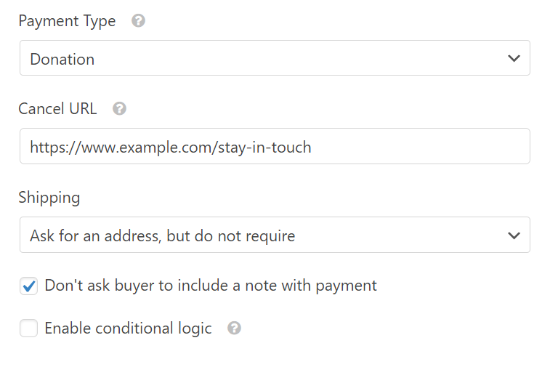
Then, in the Payment Type selection, make sure to choose ‘Donation.’
You may then provide a URL to redirect users to if they abandon the checkout process.
This could be an excellent time to try to re-engage users by directing them to a related blog article or requesting that they follow you on social media to stay in touch.
You can also change the mailing address options and whether or not you want contributors to leave a note during the Paypal checkout process.
You don’t need to apply conditional logic for this donation form. However, if you wanted to add a donation option to another form, such as a survey, you could do so. The money would then be processed only if the user chose the donation option.
You may then provide a URL to redirect users to if they abandon the checkout process.
After you’ve configured all of your choices, make sure to click the Save button.
Customize Your Notifications in Step 5
The 4th step is to ensure that contributors receive a confirmation email when they make a donation.
Go to the Settings » Notifications page to adjust the email notifications for your form.
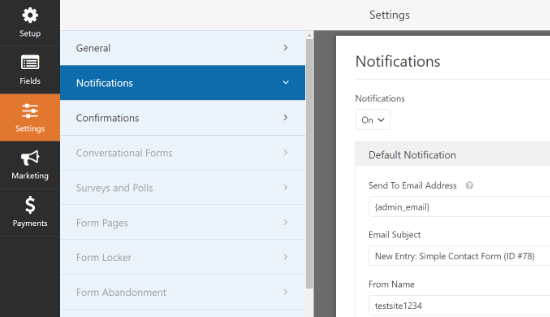
you’ll notice that the site administrator will receive a default notification. You can create a new notice for the donor by clicking the ‘Add New Notification’ button.
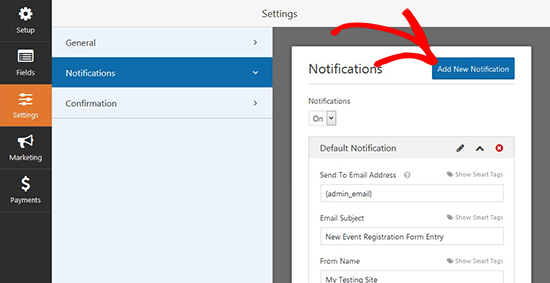
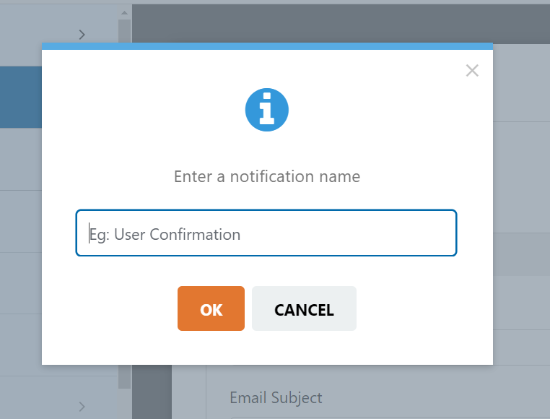
In the popup box, give your new notification a name and click the ‘Ok’ button.
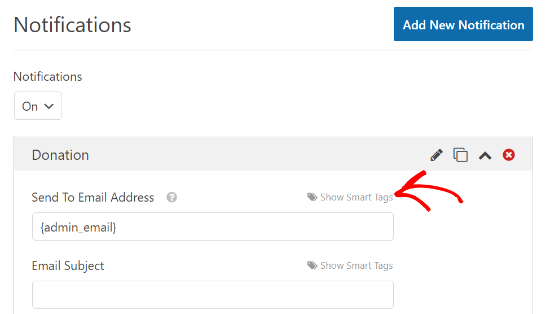
Then, make sure that this notification is sent to the donor’s email address, which they provided in the form.
To do so, select ‘Show Smart Tags’ from the drop-down menu next to Send To Email Address.
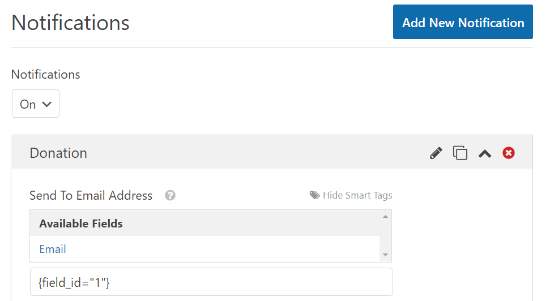
Click Email from the drop-down menu that displays. A smart tag with the {field_id=”1″} will display.
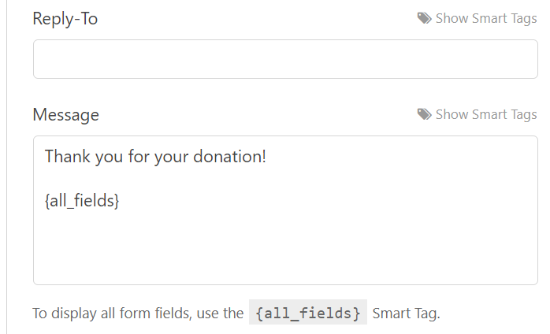
You can now personalize the message that the donor will receive by scrolling down.
When you’re finished setting up your notifications, don’t forget to hit the Save button.
Step 5: Add a donation form to your website.
You’ll need to put your donation form on your website now that it’s finished.
Using a shortcode, you can instantly add a WPForms block or embed your form in any post or page. You can even add a contribution widget to your sidebar or bottom using the plugin.
Simply update an existing page or post to add your form. For your donation form, you may also make a new post or page.
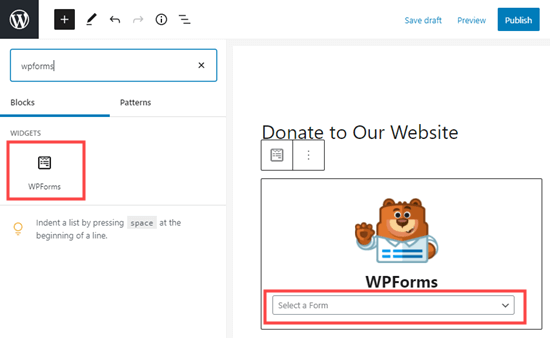
When you’re in the WordPress editor, go to the top left corner and click the addition (+) sign, then create a WPForms block.

Then, in the WPForms block, select your donation form from the dropdown menu.
Now you can see the donation form in action by publishing your post or page.
you can see read this article to learn how to create Custom Donation Form in WordPress with WP Simple Pay