Have you ever felt like your WordPress dashboard is cluttered with things you don’t want?
Additional themes, plugins, or perhaps you don’t like one of the basic widgets can all be sources of additional widgets. We’ll show you how to personalize the WordPress admin area (Dashboard) without writing any code in this article.
We’ll be using WordPress’s “Screen Options” function for this tutorial.
The disadvantage is that the settings are saved on a per-user basis. If you have a multi-author blog, this week’s post in the series might be of interest to you.
Look in the top right corner of your WordPress admin area for a tab named Screen Options. When you click it, a menu with checkboxes and radio buttons will appear.
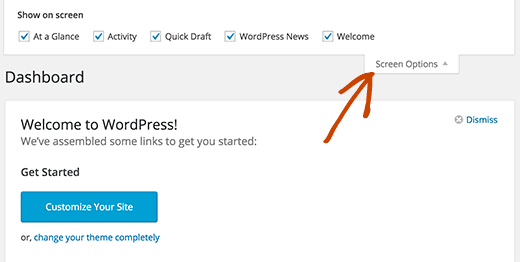
As you can see, there are numerous alternatives available. You can uncheck each option in your dashboard that you don’t want.
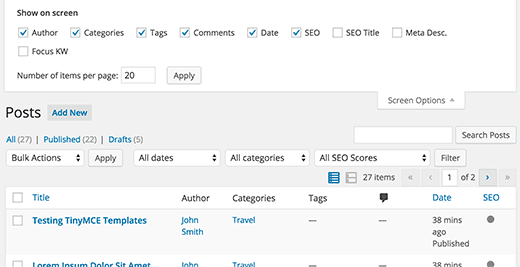
You may even add more columns to some sites in the WordPress admin area if you like. Plugins for WordPress may also add options here. For example, the WordPress SEO plugin will add SEO choices to the posts page, which you may show or conceal.
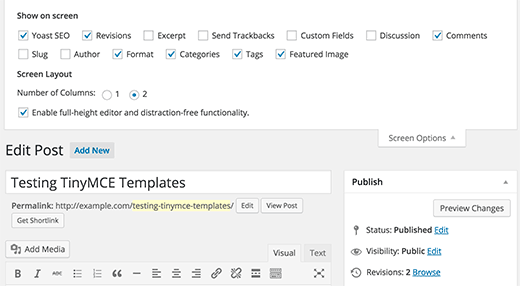
You can also drag and drop boxes into your writing panel if you don’t like the way it’s set up. You can also add and remove items, just like on the dashboard. Simply go to the Screen Options Tab and uncheck any boxes you don’t use.
The most common question is how to increase the amount of comments displayed on the backend. Because it only shows 20 comments by default, some users may prefer to view 50 comments when moderating to make their job easier. That, too, can be accomplished using Screen Options. Simply go to the Comments page and select Screen Options from the drop-down menu.
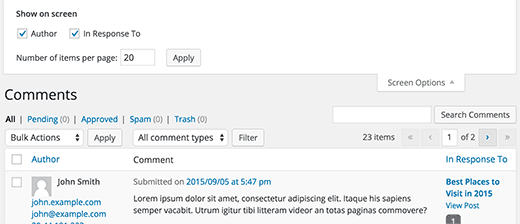
The Screen Options tab may be found on nearly every page of the WordPress admin panel. If you’re a complete beginner who doesn’t want to mess with codes. This is the most effective way to customize your WordPress Dashboard.


