Do you want to alter WordPress’s prefix for private and protected posts?
When you make a post private or password protected, WordPress automatically prefixes the title with “Private” or “Protected.”
This tutorial will demonstrate how simple it is to alter WordPress’ Private or Protected posts prefix to anything you desire.
What are WordPress’s Private or Protected Posts?
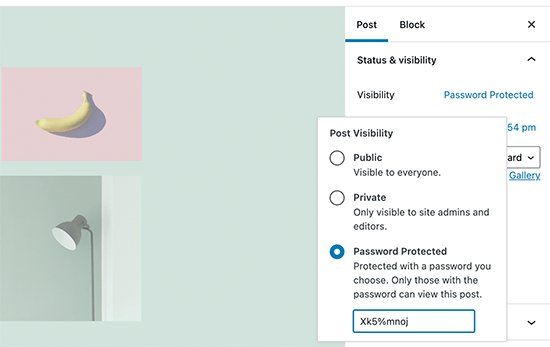
WordPress has a few simple options for content creation that keep it hidden from the public. On the editor screen, these choices are available under the “Status & Visibility” box.
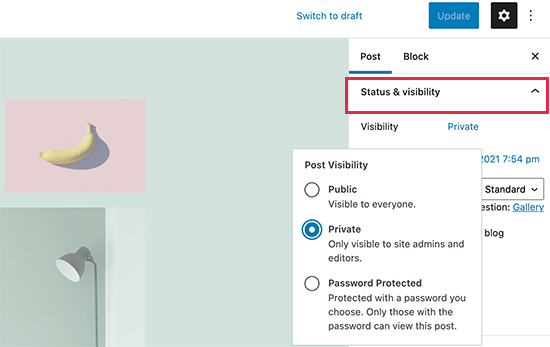
Only people who are logged in can view the information when using the “Private” option. To read private content, users must have at least an Editor or Administrator user role.
Even people who aren’t registered users on your WordPress site can read the content by selecting the “Password Protected” option.
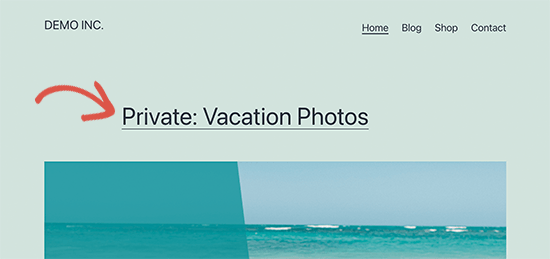
When you publish a private post, WordPress will automatically prefix the post title with “Private.”
The post or page itself, as well as any archive pages like the home page or main blog page, will display it to logged-in administrator or editor users.
WordPress’s private post prefix
Similar to this, WordPress prefixes password-protected posts and pages with “Protected.”
WordPress’s protected post prefix
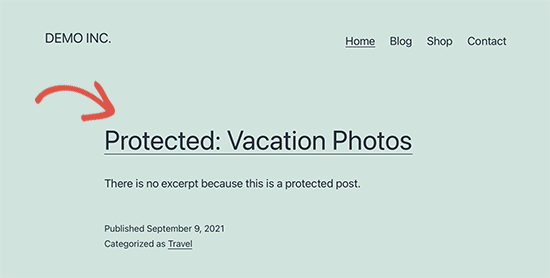
To set them from from other non-private and public entries on your website, these labels have been added to the post names.
Now, some users might desire to replace these prefixes with ones that are more relevant to or advantageous to their viewers.
Having said that, let’s examine how simple it is to modify WordPress’ private and password-protected post or page prefixes.
Changing WordPress’ Private & Protected Prefixes
You must add some code to your WordPress website in order to complete this lesson. See our guide on how to quickly add unique code snippets in WordPress if you’ve never done it before.
-
Modify the Prefix for Protected Posts
Simply add this code to a site-specific plugin or the functions.php file of your theme.
|
1
2
3
4
|
function change_protected_title_prefix() { return 'Family Only: %s';}add_filter('protected_title_format', 'change_protected_title_prefix'); |
Feel free to use any prefix for “Family Only” in your password-protected posts.
A password-protected content on your website can now be previewed. On our test webpage, it appeared as follows.
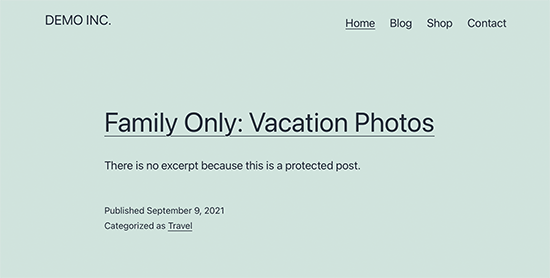
Modifying the Private Post Prefix
The prefix for your private posts can also be modified using the following code.
|
1
2
3
4
|
function change_private_title_prefix() { return 'Editors Only: %s';}add_filter('private_title_format', 'change_private_title_prefix'); |
Feel free to use anything else in place of “Editors Only” in your private posts.
Then, to see it in action, go to a private post or page. On our test site, it appeared as follows.

Bonus: Use WordPress to Properly Protect Content If you frequently share content as private or password-protected articles with certain users, it’s a good idea to start using a proper solution to control user access.
The top WordPress membership plugin available is MemberPress. It has robust access control features that let you limit material to particular users.
You can set up user groups and limit access to particular posts or pages within those groups. To offer members-only material on your website, you can also include paid subscriptions.
See our tutorial on creating a membership website in WordPress for more instructions.
We sincerely hope that this article has shown you how to quickly alter the prefix for private and protected articles in WordPress.


