
Do you wish to organize your WordPress shortcode pages into categories and tags but don’t know where to begin?
Categories and tags help people shortcode discover what they’re searching for by allowing them to navigate through your blog entries. However, by default, they’re only available for posts, not pages.
We’ll teach you how to add categories and tags to WordPress pages in this post.
Why Add Categories shortcode and Tags to WordPress Pages?
The default WordPress taxonomy for your blog articles are categories and tags. Tags help explain precise features of your material, whereas categories are a general grouping of stuff. More on the distinction between categories and tags may be found in our guide to categories versus tags.
In WordPress, both categories and tags are limited to blog entries by default.
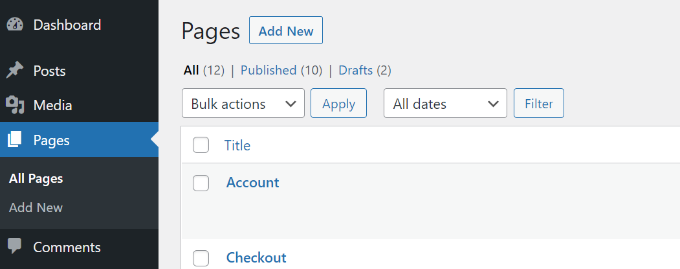
You will note that there is no opportunity to add categories or tags to your WordPress page when you build it.
Your WordPress pages, on the other hand, may benefit from the addition of categories and tags. If you have a lot of pages, it might help you organise and arrange them. It may also enhance your website’s navigation and make it easier for users to discover relevant pages on your WordPress site.
If your online business has many sales pages for various items, for example, you may arrange them into broad categories.
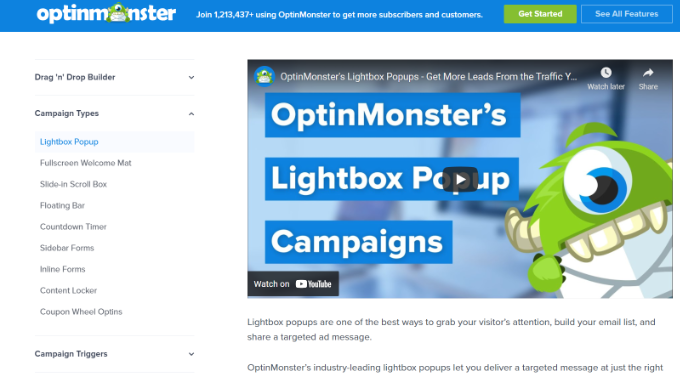
You may do the same for your app’s and software’s different feature pages. OptinMonster, for example, categorises various feature pages under the ‘Features’ category.
Let’s see how you can add categories and tags to your WordPress pages.
Adding Categories and Tags to WordPress Pages
The Pages with category and tag plugin is the simplest method to set up categories and tags for your WordPress pages. It’s a free WordPress plugin that works right away and doesn’t require any further settings.
The first step is to download, install, and activate the plugin. Please visit our article on how to install a WordPress plugin for more information.
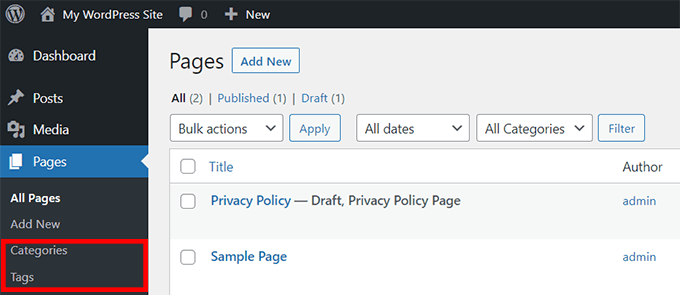
After activating the plugin, navigate to Pages » Add New and you’ll notice that post categories and tags are now available for your WordPress pages.
Next, you can create categories and tags for your pages.
To add a category, head over Pages » Categories from your WordPress dashboard and then enter a ‘Name’ and ‘Slug’ for your category.

After that, you can scroll down and select a ‘Parent Category’ for your category.
Once you’ve entered these details, simply click the ‘Add New Category’ button.

You can then view your newly added category for your pages.
If you want to delete a category, then simply click the checkbox next to it and select ‘Delete’ from the Bulk Action dropdown and click the ‘Apply’ button.

Next, you can assign your WordPress pages to the categories you just created.
To start, simply edit or create a new page. From the WordPress content editor, you can now select the relevant category from the menu on your right. For instance, we created a feature page and marked it under the Features category.

Similarly, you may use the ‘Tags’ box to add tags to your WordPress page. If you wish to add several tags, use a comma to separate them.
You may include keywords and phrases that assist characterise your material, for example. We used the phrases ‘exit intent’ and ‘OptinMonster’ as tags in our situation.
Simply update or publish your WordPress page after selecting your category and adding tags.
This tutorial should have assisted you in adding post categories and tags to your WordPress sites. You might also want to have a look at your guide to creating a business email address and the finest email marketing software.