
Do you want to add YouTube Playlist to your WordPress blog?
Including YouTube playlists in your blog posts and landing pages may boost user engagement while also improving your SEO (SEO). It also aids in the acquisition of new subscribers and the expansion of your channel.
We’ll teach you how to embed a YouTube playlist in WordPress in this post.
Why Embed YouTube Playlist in WordPress?
Adding YouTube videos to your article is a terrific approach to engage your visitors.
Embedding YouTube material has a slew of advantages:
You can keep visitors interested in your website and encourage them to spend more time there.
High engagement and a low bounce rate convey a favourable signal to search engines, therefore video content can help you improve your WordPress SEO.
It aids in the promotion of your YouTube channel and the acquisition of more subscribers.
You may embed YouTube videos on your site in a few different ways. You may embed a single YouTube video, display your YouTube channel’s most recent videos, or even build a video gallery.
So, what’s the big deal about making a playlist?
You may keep the videos focused on a specific topic by embedding a playlist.
A playlist also allows you to direct your visitors from one video to the next in a logical manner, increasing their engagement on your website.
Let’s have a look at how to integrate YouTube playlists on your WordPress site now.
If you’d prefer written instructions, just keep reading.
Embedding YouTube Playlists in WordPress
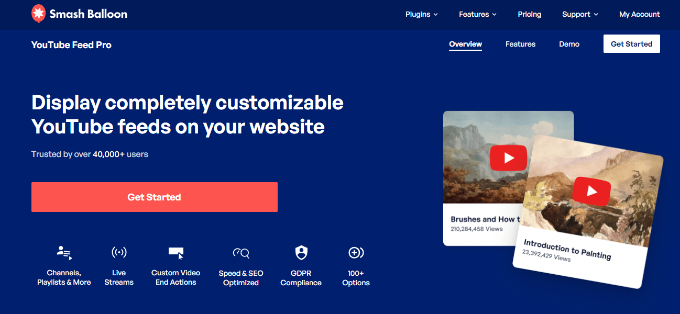
WordPress does not enable you to embed a playlist by default. The YouTube Feed Pro by SmashBalloon plugin is the simplest method to integrate a YouTube playlist in WordPress.
It’s the greatest YouTube WordPress plugin for creating personalised YouTube feeds for your website. It allows you to add YouTube playlists and has a variety of customising options.
When you add additional videos to the playlist on YouTube, the plugin automatically refreshes it. WordPress now allows you to integrate live YouTube feeds.
We’ll be utilising the paid version of YouTube Feed Pro for this tutorial because it has additional functionality. You may also use the free version to get a feel for it.
The YouTube Feed Pro by SmashBalloon plugin must first be installed and activated. For additional information, visit our tutorial on how to install a WordPress plugin.
After you’ve activated the plugin, go to Feeds for YouTube in your WordPress panel and choose the ‘License’ option.
To activate your licence, just input your licence key and click the ‘Activate License’ button. The key may be found in your account.

Next, you’ll need to go to the ‘Configure’ tab and connect your YouTube account.
To do that, go ahead and click the ‘Connect to YouTube to Create a Feed’ button.

A popup will now appear informing you that the plugin will require read-only access to your YouTube account to retrieve the API key.
Simply click the ‘Continue’ button to move on to the next step.

Next, you’ll need to select your Google account.

On the next screen, the plugin will require access to your Google account.
Simply click the ‘Continue’ button.

You’ll now be redirected back to your WordPress website, and a popup will appear showing that you’ve successfully connected your account.
Go ahead and click the ‘Dismiss’ button to continue.

Next to the ‘YouTube Accounts’ section, you can see that you’ve successfully connected your Google account.

Now, you’ll need to create an API key so that the plugin automatically fetches your playlists and displays them in WordPress.
Let’s see how you can get an API Key.
Creating a YouTube API Key
To get started, go to the Google Cloud Platform page and sign in using your Google account.
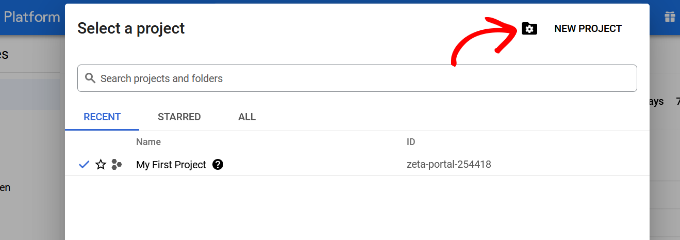
Then, at the top of the page, select ‘My First Project.’
You’ll now get a popup window where you may choose your projects.
To begin, simply click the ‘New Project’ option. If you like, you may also choose an existing project.
After that, you’ll need to enter a name for your project under the ‘Project Name’ field. We’ve called ours ‘YouTube Playlist’.
Then click the ‘Create’ button.

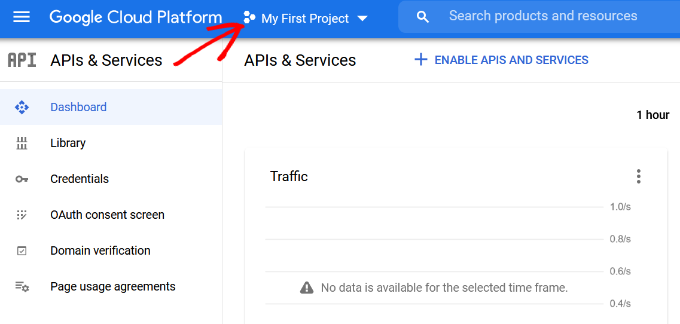
Once your project is created, you can click the menu option in the top left corner (3 horizontal lines) next to Google Cloud Platform and go to ‘API & Services’ from the menu.
Then click the ‘+ Enable APIs and Services’ option at the top.

This will open the API library page. Go ahead and enter YouTube in the search box to find the YouTube API.
Next, you’ll need to select the ‘YouTube Data API v3’ option.

After that, simply click the ‘Enable’ button to activate the YouTube API key.

Now, you’ll need to go to the Credentials menu in the left menu, and then click the ‘+ Create Credentials’ at the top.
From the options that appear in the dropdown, go ahead and select ‘API key.’

A popup window will now appear with the YouTube API key.
Simply copy the API key or store it on a notepad file.

Next, you can head back to your WordPress website and then navigate back to Feeds for YouTube from your dashboard.
Now, go to the ‘Configure’ tab and enter your API key.


You can find the playlist ID by visiting your YouTube channel and then going to the playlist you’d like to display on your website.
The string of letters and numbers after the ‘=’ symbol in the URL is your playlist ID. Simply copy the ID and enter it in the Feeds for YouTube plugin.

Now that you’ve created an API key and added the YouTube playlist ID, let’s see how you can customize the feed and embed it on your website.
Customize and Embed Your YouTube Playlist
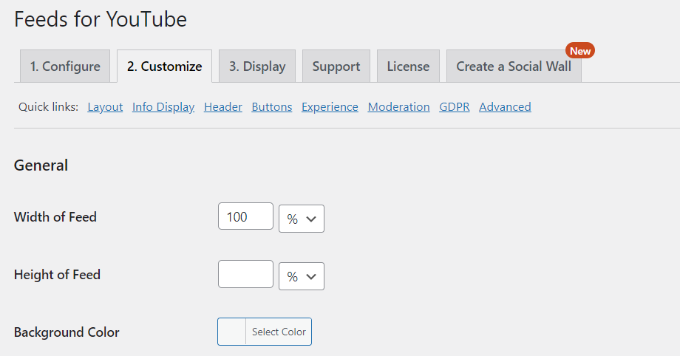
Simply go to the ‘Personalize’ option in the Feeds for YouTube plugin to customise your YouTube playlist feed.
Your YouTube feed’s width, height, and background colour may all be changed here.
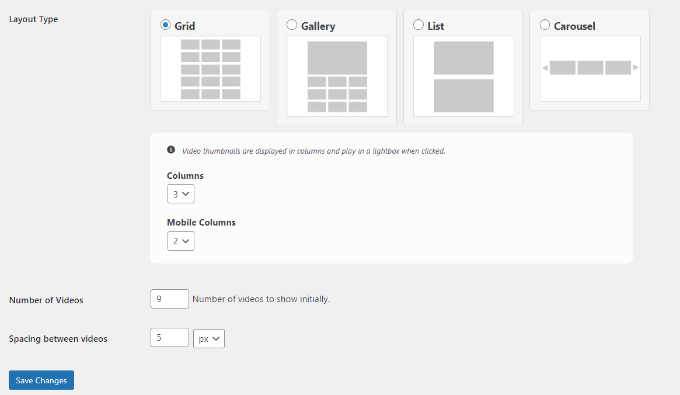
After that, you may scroll down and adjust the feed’s layout. The plugin comes with a variety of layout possibilities, including grid, gallery, list, and carousel layouts.
Aside from that, you may choose the number of columns (for mobile and desktop), the number of videos, and the spacing between them.
Additionally, the plugin provides additional customization possibilities for your YouTube stream. You may, for example, pick what information to display, such as the play symbol, title, views, date, and so on.
There are additional options for inserting information text translations, editing header choices, adjusting the Load More and Subscribe button settings, adding moderation, and other complex features.
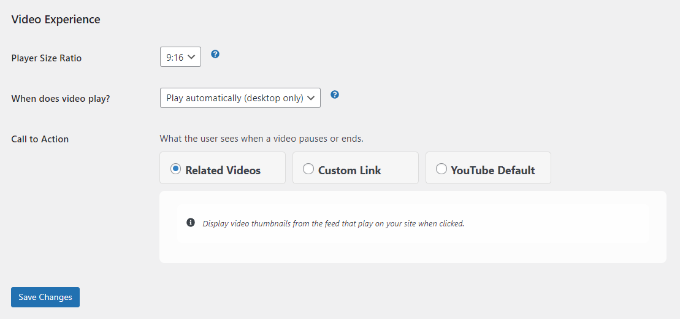
When you’re finished, remember to click the ‘Save Changes’ option.
Then, on any WordPress page or post, you can embed your YouTube playlist.
Simply create a new page or update an existing one to get started. Simply click the ‘+’ button in the WordPress content editor and add the ‘Feeds for YouTube’ block.

Your YouTube playlist will now appear on your page.
Go ahead and publish your article to see the YouTube playlist feed in action.

This post should have shown you how to embed a YouTube playlist in WordPress. You might also be interested in our articles on how to establish an online business and how to choose the finest live chat software.