

Do you want to use WordPress to add text to an image?
A text overlay is an excellent technique to add additional information to an image. It’s also a simple and quick way to make banners, headers, and even online ads.
In this tutorial, we’ll teach you how to use WordPress to add text to a picture.
Using WordPress to Add Text Over Images
Images may add interest to your WordPress website and assist to break up long paragraphs of content.
However, your photographs may require more explanation at times. For example, you might write something on top of an image to describe what it depicts and why you included it in your article.
To create eye-catching and informative banners and headers, many WordPress websites layer text on top of a picture.
We’ll look at three alternative ways to add text to a picture with WordPress in this post. You may use the buttons below to move right to a certain approach if you like.
Method 1: Using the Cover block, place text on top of a picture.
Method 2: Using the Image block to place text on top of an image
Method 3: How to make a unique website layout with text over a picture
Method 1: Using the Cover Block to Add Text on Top of an Image
The Cover block in WordPress is one technique to overlay text on top of a picture. This block may be used to display any picture and then put text over it. The Cover block is ideal for generating hero pictures, headers, and banners because of this.
Simply click the addition (+) symbol in the WordPress block editor to add a Cover block to a page or post.
You may now put ‘Cover’ into the search box and choose the appropriate block when it displays.
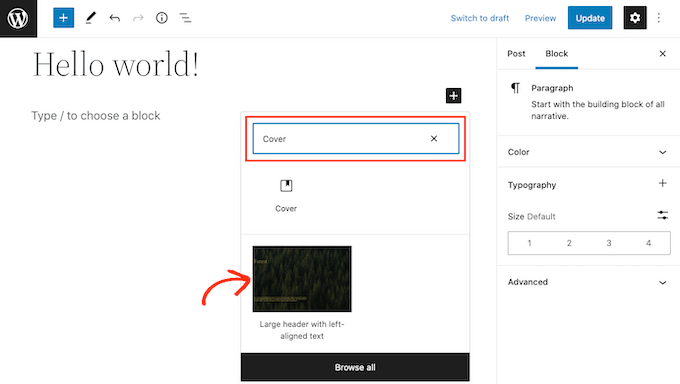
The Cover block comes with a placeholder image and some placeholder text by default.
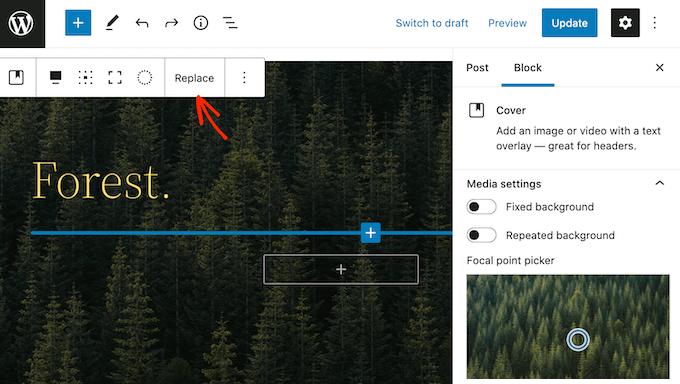
Simply click to pick a picture to replace the default image. Click the ‘Replace’ button once you’ve done that.
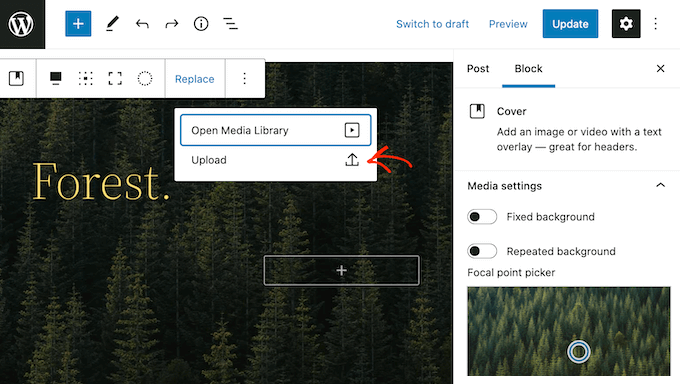
Simply click on ‘Open Media Library’ if you want to utilise a picture that’s already in your WordPress media library. After that, you may select an existing picture.
Instead, click ‘Upload’ if you want to upload a new image.
This brings up a dialogue box where you may select any file on your computer.
You may utilise the block settings to create some fascinating and eye-catching effects after you’ve chosen a picture. You may, for example, make the picture fixed in position when the visitor scrolls the page or overlay it with a colour overlay.

If you utilise an overlay, the ‘Opacity’ slider may be used to adjust its opacity. The transparency of the background picture is controlled by the opacity setting.
When you’re satisfied with the image’s appearance, it’s time to add some text.
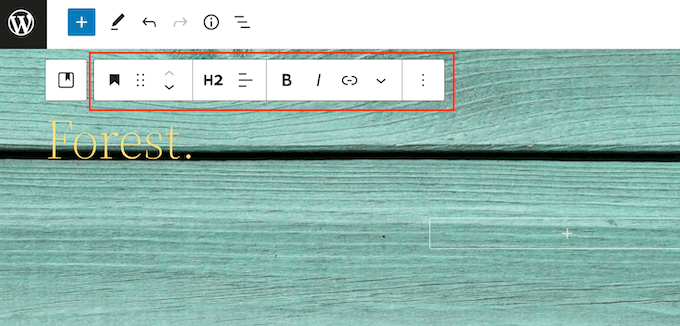
The Cover block comes with a Heading and a Paragraph block, which you may use to put text on top of the image by default.
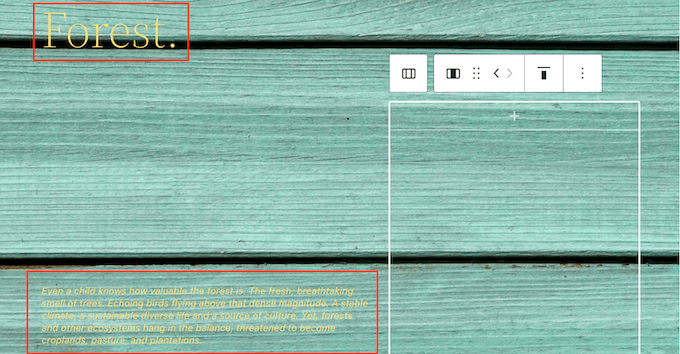
Simply click on either the Heading or Paragraph block to add some content. After that, write in the text that you wish to utilise.
When you put text on top of a picture, it might be difficult to read at times. This is especially true for tourists with impaired eyesight. Please visit our article on how to make your WordPress site more accessible for more information.
However, you might wish to format your content to make it simpler to read.
If you’re using a Heading block, you may also experiment with several heading styles to discover which one is the most readable.
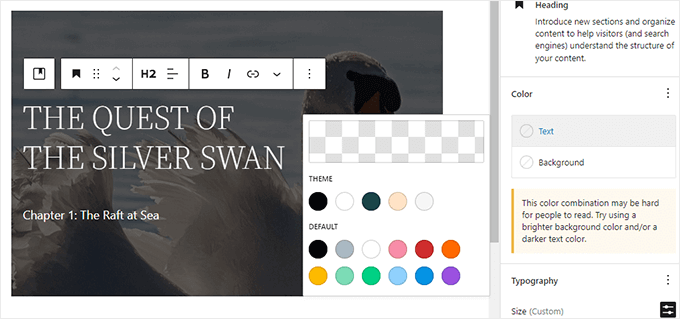
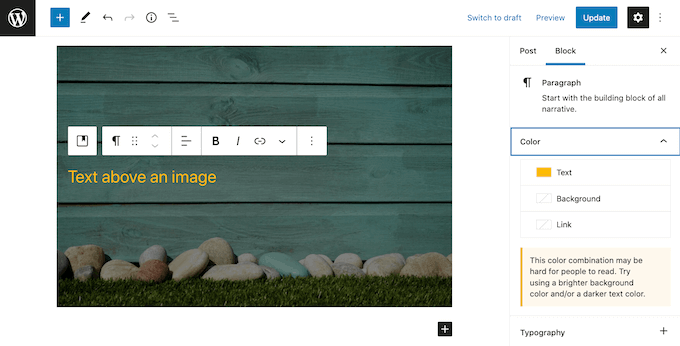
Using a contrasting colour might also make your words stand out.
Select the ‘Block’ option in the right-hand menu to change the colour. Then, to enlarge this area, go ahead and click on ‘Color.’
Click ‘Text’ when you’ve done that. This will bring up a window where you may change the colour of all the text in the block.
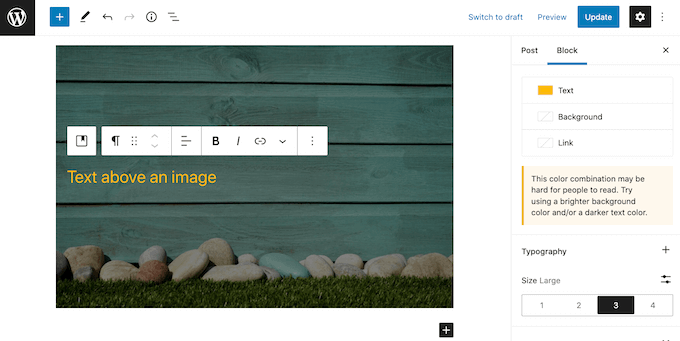
Larger writing is usually easier to read.
To increase the size of your text, click the field next to ‘Size’ and put a greater number into the field.

Once you’re satisfied with the appearance of your Cover block, you may publish or edit your page as usual. If you go to your website now, you’ll see that your text is now on top of the image.
Method 2: Using the Image Block to Add Text on Top of an Image
Banners and headers may be easily created with the Cover block. You may, however, add text to a regular WordPress Image block.
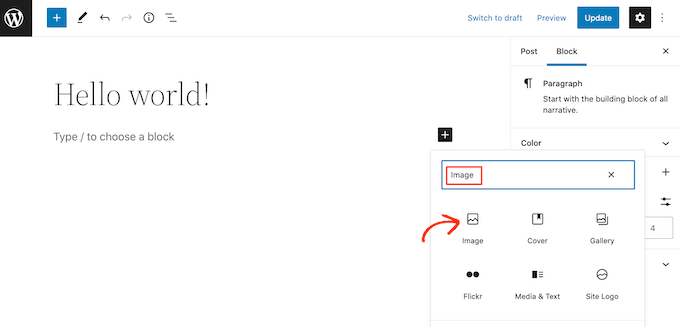
You’ll need to start by adding an Image block to your page or post. Simply click the plus (+) sign in the WordPress block editor to do so.
Then put in ‘Image’ and choose the appropriate block to add it to your article.
You can then either upload a picture from your computer or select an image from the WordPress media library by clicking on Media Library.
After you’ve chosen your image, repeat the steps above to modify the focus point, add an overlay, and adjust the opacity.
To find what works best for your Image block, experiment with the different ‘Fixed background’ and ‘Repeated background’ sliders.
When you’re satisfied with the appearance of your image, click the ‘Add text over image’ option.
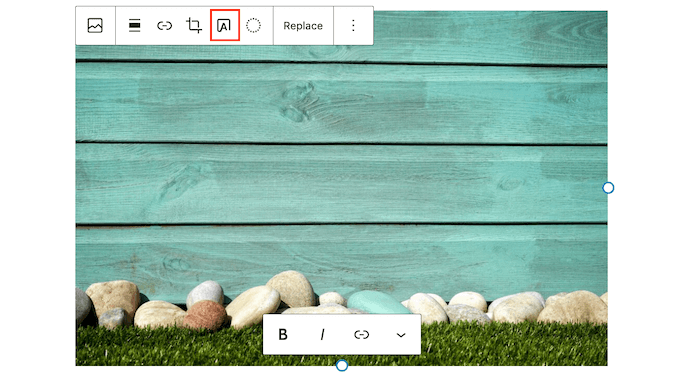
This adds a text field for you to fill up.
Visitors may struggle to understand your text depending on the image you use. It may be helpful to make the text bold or alter its colour using the same procedure as before.
You may also enlarge your text.
To do so, go to the right-hand menu and look for the ‘Size’ option. You may then use the numbers to make your text larger or smaller by clicking on them.
When you’re satisfied with the appearance of your text and picture, save your changes by clicking Save Draft, Update, or Publish.
Method 3: Using Text on Top of an Image to Create a Custom Page Layout
Using the built-in WordPress blocks, you can quickly and easily add text to a picture. A page builder plugin, on the other hand, is required if you want total control over your page designs.
SeedProd is the most powerful WordPress page builder plugin available. It allows you to overlay text on any image on your whole website.
Note: SeedProd offers a free version, but we’ll use the Pro version for this article because it has more capabilities.
The SeedProd plugin must first be installed and activated. See our step-by-step guide on installing a WordPress plugin for more information.
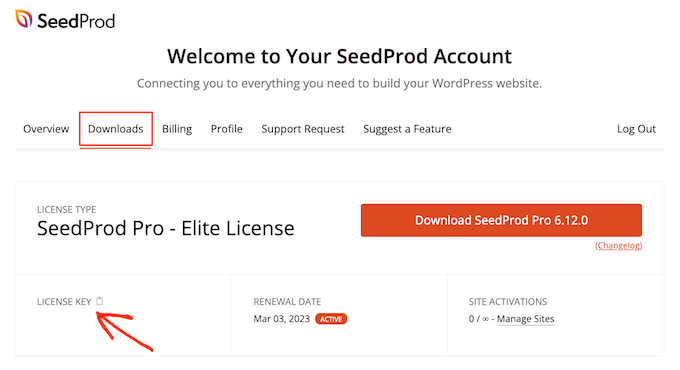
You’ll need to input your SeedProd licence key after activation. Logging into your SeedProd account will provide you with this key. Then, under the ‘Downloads’ page, click.
After that, copy the key and paste it into the ‘License key’ area.
By heading to the SeedProd » Settings page, you can now paste this key into your WordPress admin area.
Once you’ve arrived, put your licence key into the ‘License key’ section.
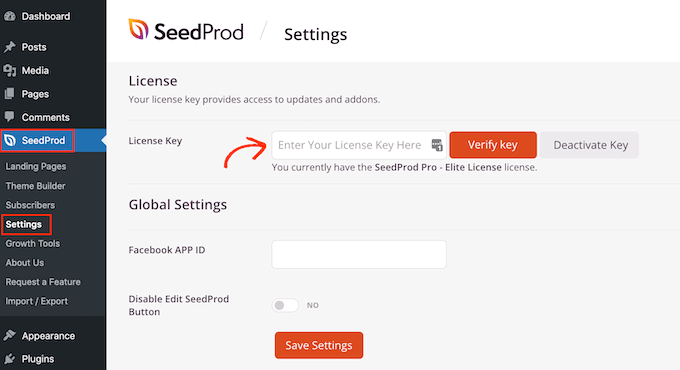
Then just select ‘Verify Key’ from the drop-down menu.
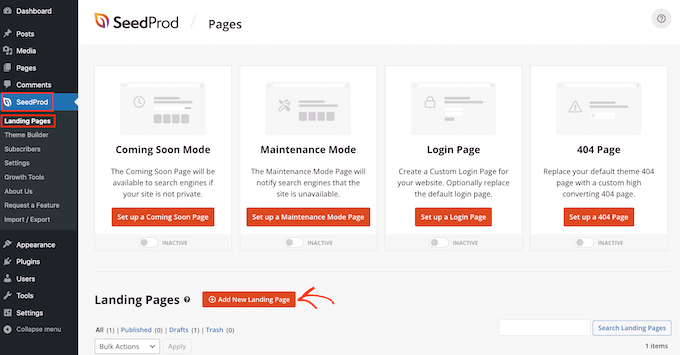
After that, we’ll go to SeedProd » Landing Pages and click the Add New Landing Page button.
The next step is to pick a template that will serve as the foundation for your page. You may adjust every component of each SeedProd design to properly suit your website and identity, regardless of which one you pick.
If you prefer, you may start with a fresh canvas by selecting Blank Template.
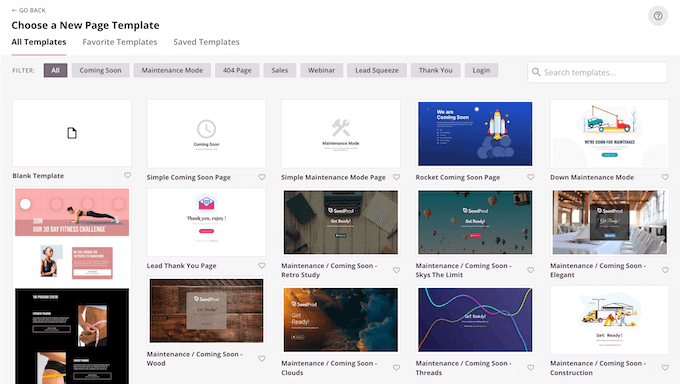
We used the Tasty Squeeze Page template in all of our photos, which is ideal for increasing subscriber efforts.
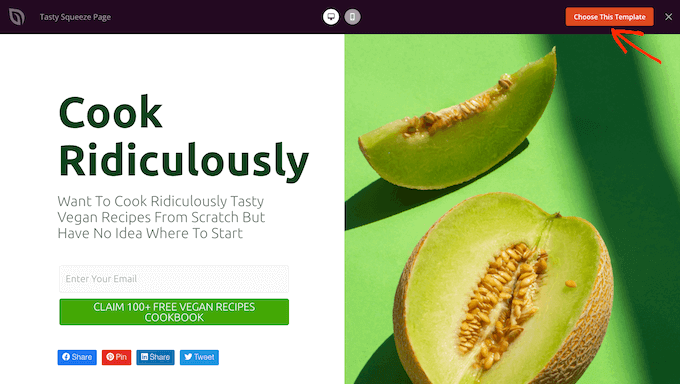
Hover your cursor over a template you might want to use after you’ve found it. Then, on the ‘Preview’ button, click.

This will provide a template preview.
If you like how this template appears, go ahead and select it by clicking the ‘Choose This Template’ option.
Type a name for the page in the ‘Page Name’ area.
SeedProd will use this name as the page’s URL by default. Simply update the text in the ‘Page URL’ column if you wish to change the URL that was generated automatically.
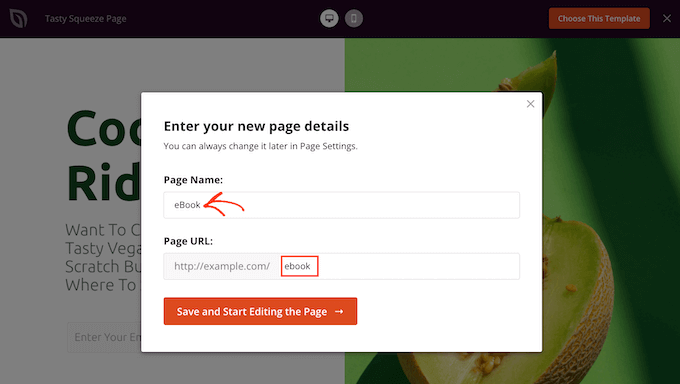
Click the ‘Save and Start Editing the Page’ option when you’re satisfied with the information you’ve entered. This will bring up SeedProd’s drag-and-drop editor, where you may alter the template.
You’ll find all the blocks and sections you can drag and drop into your website in the left-hand menu.
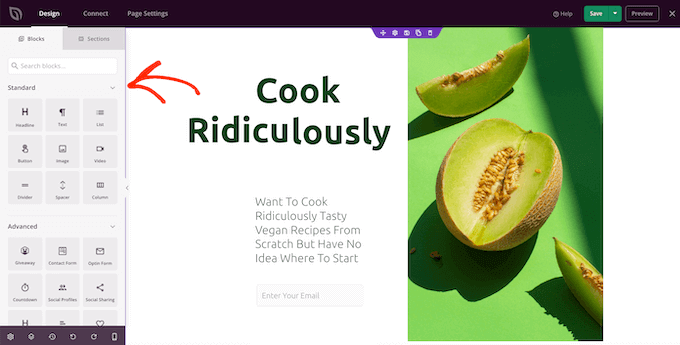
Your SeedProd page will already contain certain blocks and sections unless you’re using the Blank Template. To change any of this material, simply select the block or part with your mouse.
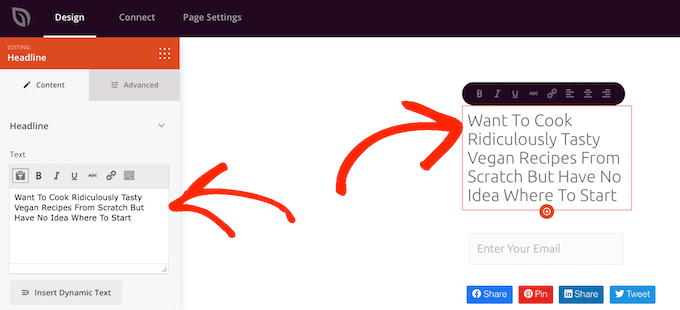
The left-hand menu in SeedProd will now provide all of the options for customising this block or area. If you click on a Headline block, as seen in the accompanying image, you may modify the text that appears in that block.
Using one of SeedProd’s ready-made Hero sections is the simplest method to place text on top of a picture.
A placeholder background picture has been placed to these areas, along with some placeholder content. You may easily add your own material to the default background image and text.
To begin, go to SeedProd’s left-hand menu and select the ‘Sections’ button.
Then, under ‘Hero,’ you’ll see all of the ready-made hero sections you may use on your website.
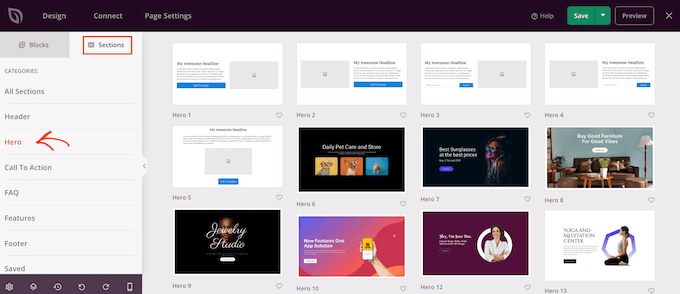
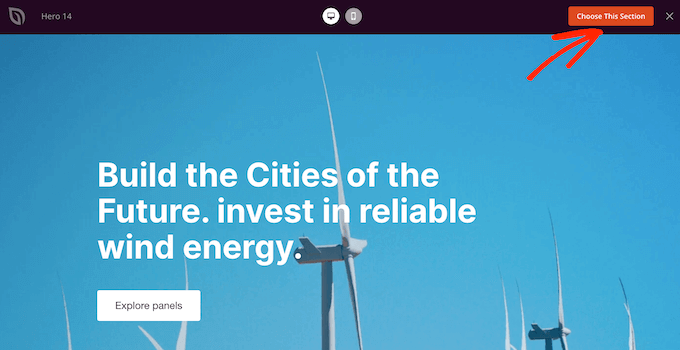
Simply mouse over any of these section templates and click the magnifying glass button to see a preview.
Simply click on ‘Choose This Section’ to add this hero section to your design.
After that, you’ll want to change the stock picture in the template with your own. To do so, simply choose the stock picture by clicking on it.
Then linger over the ‘Background Image’ sample in SeedProd’s left-hand menu until a trash can symbol appears.
You may then delete the placeholder picture by clicking on this button.

Then select ‘Use Your Own Image.’ You may then use a stock picture or select an image from the WordPress media library.
SeedProd makes it simple to find thousands of royalty-free stock photos. Use the ‘Use a Stock Image’ button to browse SeedProd’s stock image collection.
Type a word or phrase that characterises the image you’re searching for in the search window and hit the ‘Search’ button.
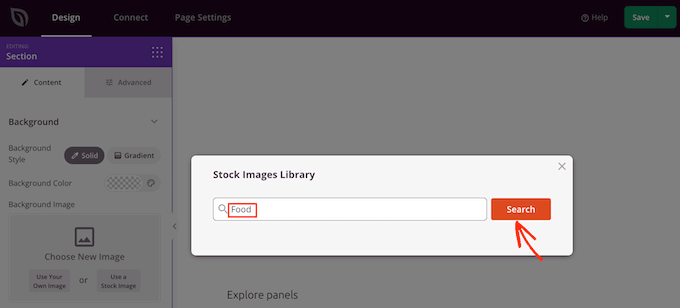
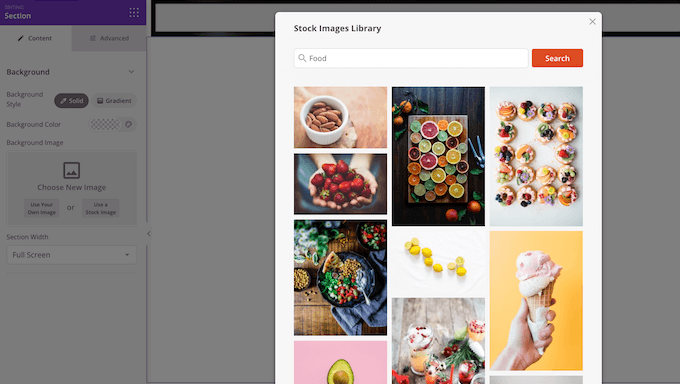
All of the stock pictures that match your search query will now be shown in SeedProd.
Simply click on the image you wish to use in your design when you locate it.
You’re ready to update the placeholder text now that you’ve uploaded a picture.
To do so, select the text block with a click. Then just input the text you wish to use in the ‘Text’ field.
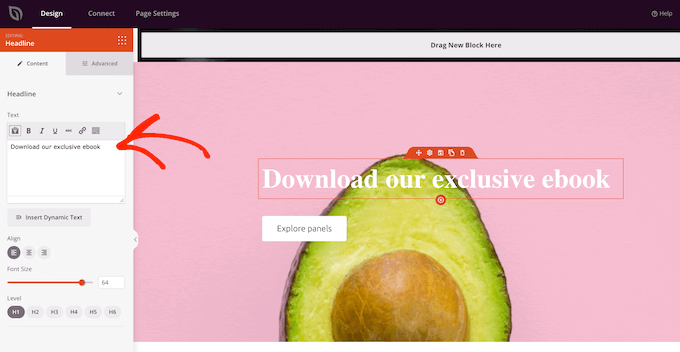
Extra material, such as call to action buttons, can be included in several of SeedProd’s hero templates.
Do you want to make a modification to this page’s content? Then, under SeedProd’s left-hand menu, click to choose the block and make your adjustments.

We hope you found this tutorial useful in learning how to add text to a picture in WordPress